How to install cable clamps?
Installing cable clamps is a fundamental task in electrical and mechanical projects. To install cable clamps, you need to prepare the appropriate tools and materials. During installation, mark the location, prepare the surface, fix the base, insert the cable and clamp it in a suitable way, and finally check and test. Here's a comprehensive guide on how to install cable clamps effectively.
Preparation: Gathering the Right Tools and Materials
Before starting the installation process, it's crucial to have all the necessary items at hand.
-
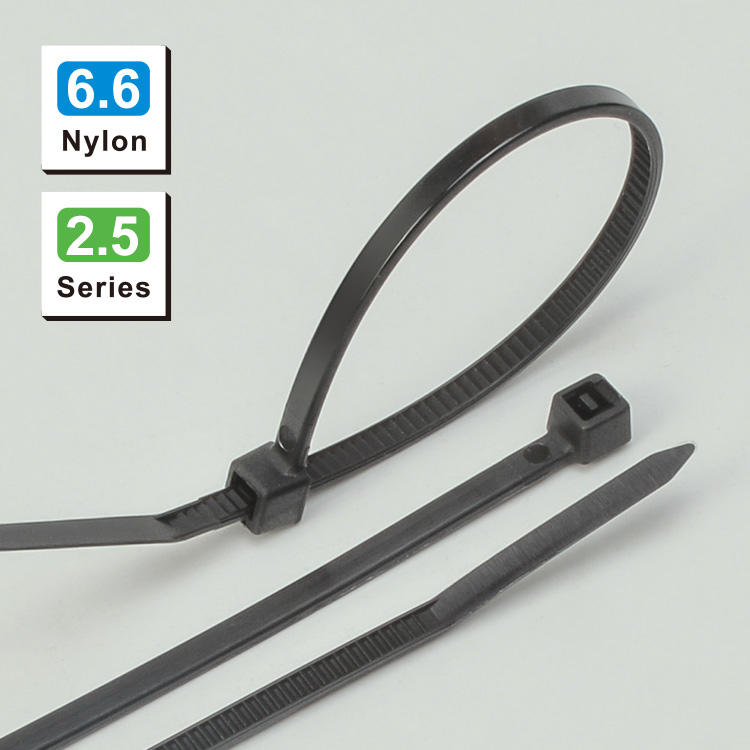
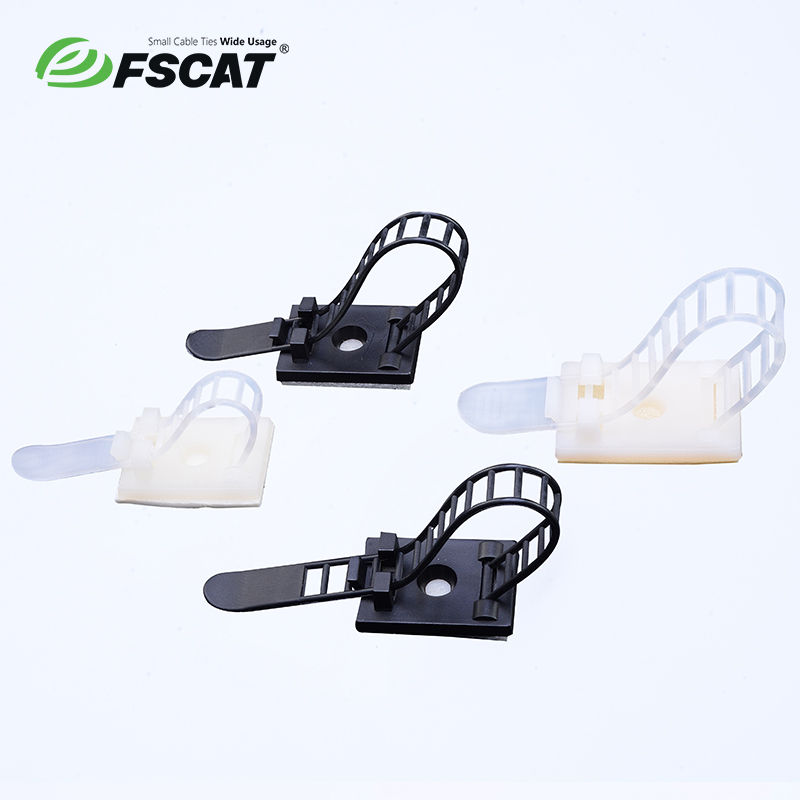
Cable Clamps: Select cable clamps that are suitable for the type and size of the cables you're working with. There are various types of cable clamps available, such as plastic, metal, and insulated clamps. For electrical applications, ensure that the clamps are rated for the voltage and current levels of the cables. Measure the diameter of the cable bundle accurately to choose the right - sized clamp. A clamp that's too small won't fit the cables properly, while one that's too large may not provide sufficient support and security.
-
Tools: You'll need a screwdriver (either flat - head or Phillips, depending on the type of screws used in the clamp), pliers (for bending or adjusting small parts if necessary), and a measuring tape or ruler for accurate positioning. In some cases, if the installation surface requires drilling, you may also need a drill and appropriate drill bits.
-
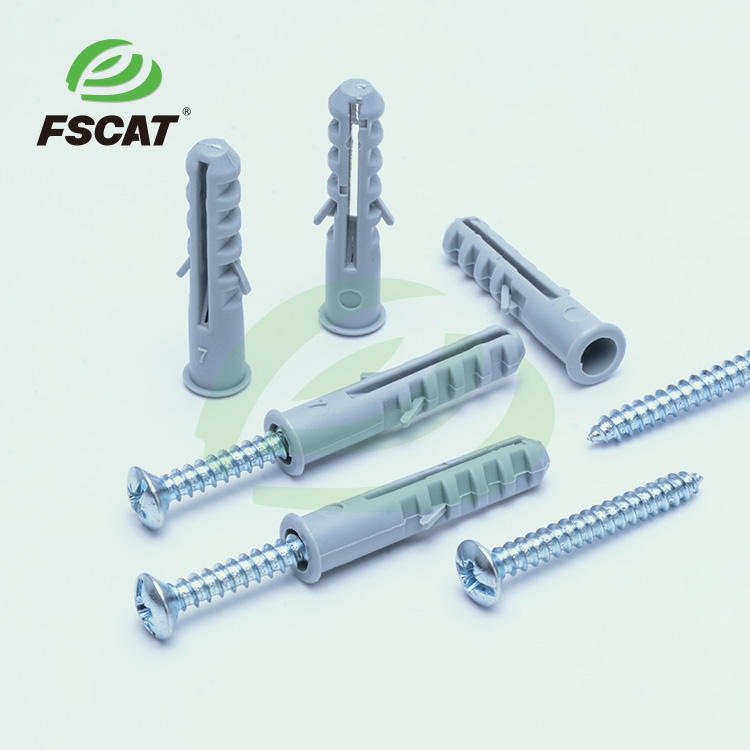
Additional Materials: Depending on the installation surface, you may need screws, bolts, nuts, or adhesive to secure the cable clamps. If you're working in an area where vibration is a concern, anti - vibration pads or washers can be used to reduce the stress on the cables and the clamps.
Installation Process
-
Mark the Installation Location
-
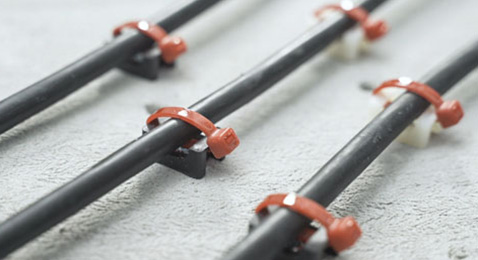
Determine the ideal location for the cable clamps. In electrical installations, this is often along walls, ceilings, or conduit runs. For vehicle installations, it could be on the chassis, firewall, or within the engine bay. Use a measuring tape to mark the positions at regular intervals. The spacing between clamps depends on the type of cable, its weight, and the application. As a general rule, for light - duty cables in a residential setting, clamps can be spaced 12 - 18 inches apart. In industrial or high - vibration environments, closer spacing may be required.
-
Prepare the Installation Surface
-
If the surface is smooth and clean, you may be able to directly attach the cable clamps. However, if the surface is rough, dirty, or painted, it's advisable to clean and prepare it first. For a metal surface, you can use sandpaper to remove any rust, paint, or debris. This ensures a better grip for the fasteners. In some cases, if you're using adhesive - based cable clamps, make sure the surface is free of oil, grease, and dust to allow the adhesive to bond properly.
-
Attach the Cable Clamp Base (if applicable)
-
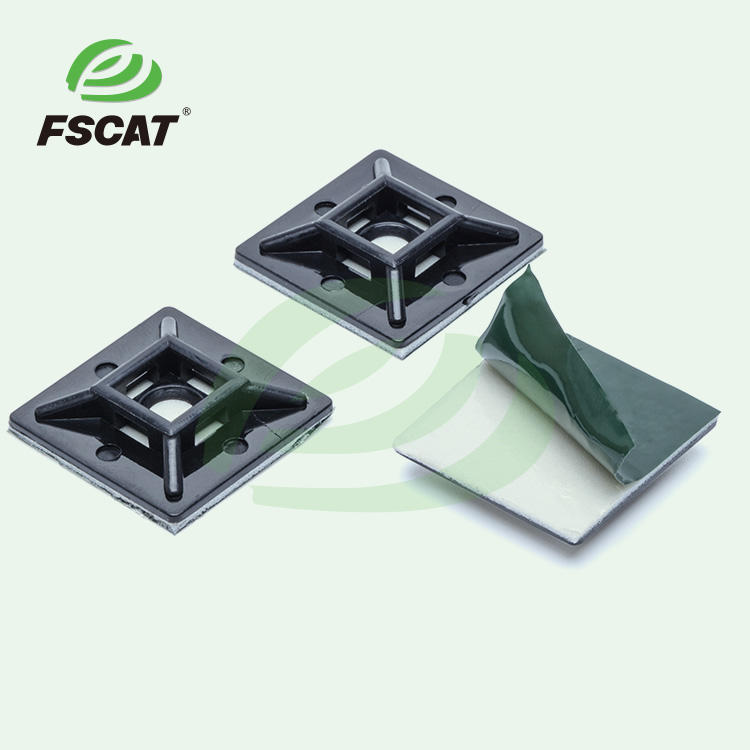
Some cable clamps come in a two - part design, with a base that needs to be attached to the installation surface first. Place the base at the marked location and use screws or bolts to secure it. If you're using a drill, make pilot holes first to prevent the material from cracking. Tighten the screws or bolts evenly to ensure the base is firmly in place. For adhesive - backed bases, peel off the protective backing and press the base firmly onto the surface, following the manufacturer's instructions for curing time.
-
Position the Cable
-
Thread the cable or cable bundle through the cable clamp. Make sure the cable is straight and not kinked or twisted. In the case of multiple cables, arrange them neatly within the clamp. If the cables are carrying different types of signals (such as power and data cables), keep them separated as per the installation standards to avoid interference.
-
Secure the Cable with the Clamp
-
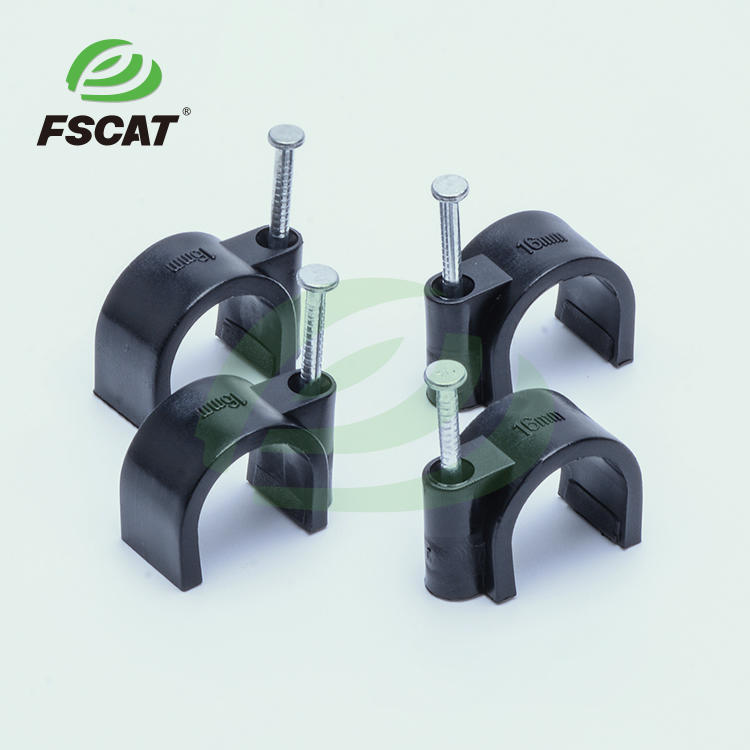
Close the cable clamp around the cable. If it's a screw - type clamp, use a screwdriver to tighten the screws gradually. Apply even pressure on both sides of the clamp to ensure that the cable is held evenly. Do not overtighten the screws, as this can damage the cable insulation. In the case of metal clamps, if there's a risk of the sharp edges of the clamp cutting into the cable, use an insulating sleeve or padding. Some clamps may have a locking mechanism other than screws, such as a snap - on or a twist - lock design. Follow the specific instructions for these types of clamps to securely fasten them around the cable.
-
Inspect and Test
-
Once the cable is clamped, give it a gentle tug to ensure that it's firmly held in place. Check for any signs of looseness or misalignment. In electrical installations, it's also a good idea to perform a visual inspection of the cable insulation for any signs of damage caused during the installation process. If the cables are part of an active system, test the functionality of the equipment connected to the cables to ensure that the installation has not affected the electrical or mechanical performance.
In conclusion, installing cable clamps may seem like a simple task, but attention to detail in each step of the process is essential. By following these steps and using the right tools and materials, you can ensure a secure and reliable installation that will keep your cables protected and functioning properly for years to come.